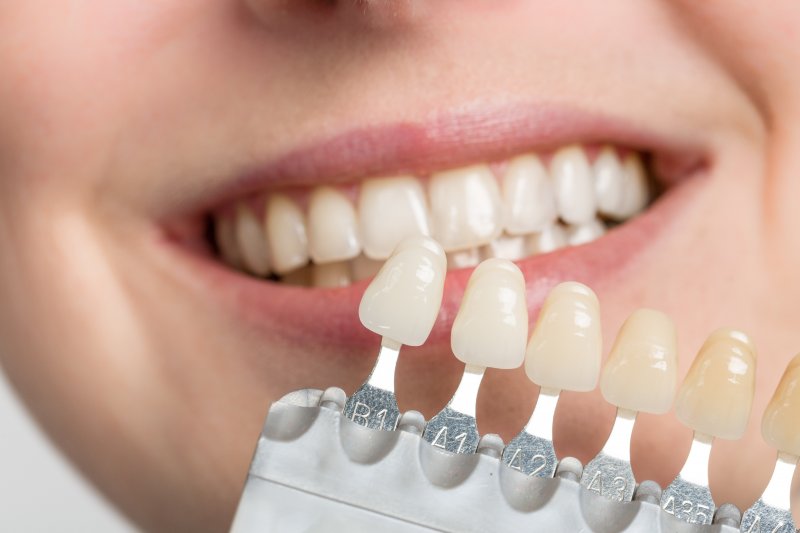
Enhancing your smile can be accomplished using many different types of cosmetic services. One of the most popular solutions is veneers. Because of their unique ability to hide a variety of imperfections, these thin sheaths of porcelain or ceramic can permanently disguise problem areas while transforming a person’s appearance and boosting their confidence. But what does it take to receive these customized restorations? Read on to learn about the veneer process and how you can put yourself on the path to a more vibrant, beautiful smile.
Step 1: Your Initial Consultation
You’ll first need to schedule an initial consultation with your cosmetic dentist. It is during this visit that you will discuss your goals and how many teeth you want to be treated. For some individuals, it may be covering all teeth to ensure an even appearance. For others, it may only be necessary to hide imperfections that appear on the most visible teeth. Ultimately, the decision is yours, but your dentist will need to evaluate your oral health to determine if you are a qualified candidate. If so, you’ll be well on your way to the next step in the veneer process.
Step 2: A Sneak Preview
Because veneers are a permanent cosmetic solution that cannot be reversed once the process is started, your dentist can provide you with a sneak preview of what your new smile will look like when finished. Whether it is with the help of a mouth mold and wax, acrylic and composite resin, or through technology, seeing your new smile in the beginning can help you feel more confident in your decision to choose veneers.
Step 3: The Preparation of Your Teeth
Once you’ve reviewed the treatment plan provided by your dentist, the next step will involve preparing your teeth. This means it will be necessary to remove a small portion of the enamel from each tooth that will receive a veneer. The reason for this step is to ensure that the bonding agent used will properly adhere your customized restorations to the surface of your natural teeth, creating a seamless and natural appearance when put into place. This is also why veneers are a permanent solution.
Step 4: Fabricating Your Veneers
After removing a small bit of tooth enamel, your cosmetic dentist will capture bite impressions that will be sent to a dental lab. There, technicians will create your personalized veneers, ensuring the size, shape, and color match the specifications provided by you and your dentist. Although it does take several weeks before they are ready, you will wear temporary veneers in the meantime, only to have them removed once your finalized ones are ready to be placed.
Step 5: Putting Your Veneers in Place
The final step in the veneer process is to cement them to your natural teeth. As a skilled and talented dental professional, your dentist will gently etch the backside of the veneer as well as the surface of your tooth before applying the clear bonding agent. Using a steady hand and artistic eye to ensure each veneer is placed accordingly so that you’re left with a natural and functional smile.
In just 2-3 visits, you can expect to see a fully transformed smile that feels better, looks beautiful, and is your ticket to embracing life to the fullest. If you have questions about receiving veneers, don’t hesitate to talk to your dentist before starting treatment.
About the Practice
Considering veneers to hide your imperfections and enhance your appearance? At St. Albans Dental, we can provide porcelain restorations that are custom-made for your needs and can last a decade or longer with proper care. As a team of skilled experts, we are trained and experienced in placing veneers and will go above and beyond to ensure that your final results look and feel completely natural. If you want to learn more about veneers and the process in which you must go through to receive them, visit our website or call (802) 524-4844.
